The July 8 meeting of the Pagosa Springs Photography Club will be held at 6:15 p.m., on-line via Zoom videoconference. We welcome back Doug Coombs, who will give a presentation on Luminosity Masking in Lightroom.
Adobe Lightroom added the capability to use luminosity and color to target local adjustments using the Gradient, Brush, and Radial tools in 2018 using the “Range Mask”. This enables the photographer to make precisely targeted adjustments to selected areas of a photograph. Think of it as dodging and burning, contrast adjustments, color adjustments and other post processing techniques on steroids. Doug will demonstrate how to use the Lightroom Brush and Gradient tools with and without the Range Mask. We may even distribute a photograph to the audience that Doug will process in Zoom and Lightroom while the audience opens Lightroom on their computers to perform the same adjustments. Everything Doug will show in Lightroom can also be done in Adobe Camera Raw, for those you only own a recent version of Photoshop. For a video tutorial on these controls, check out Matt Kloskowski’s blog post on the subject, at: https://mattk.com/lightrooms-most-powerful-masking-tools/ .
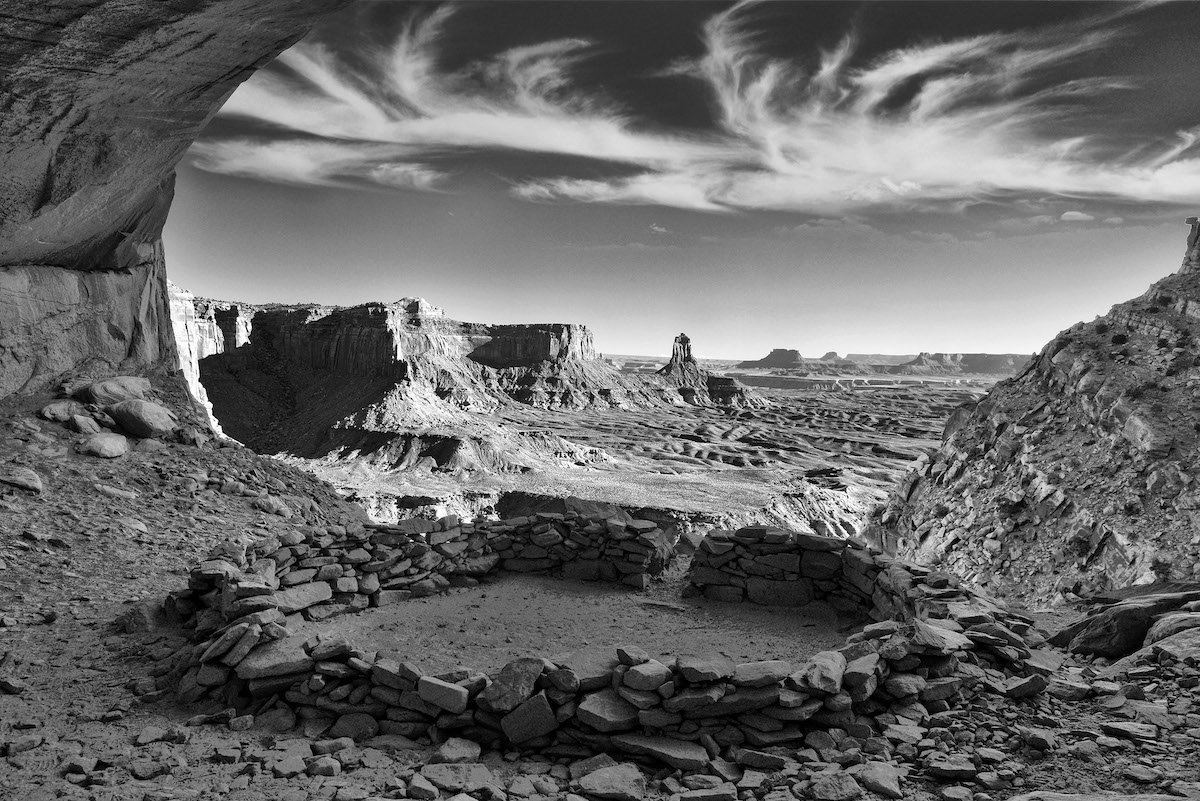
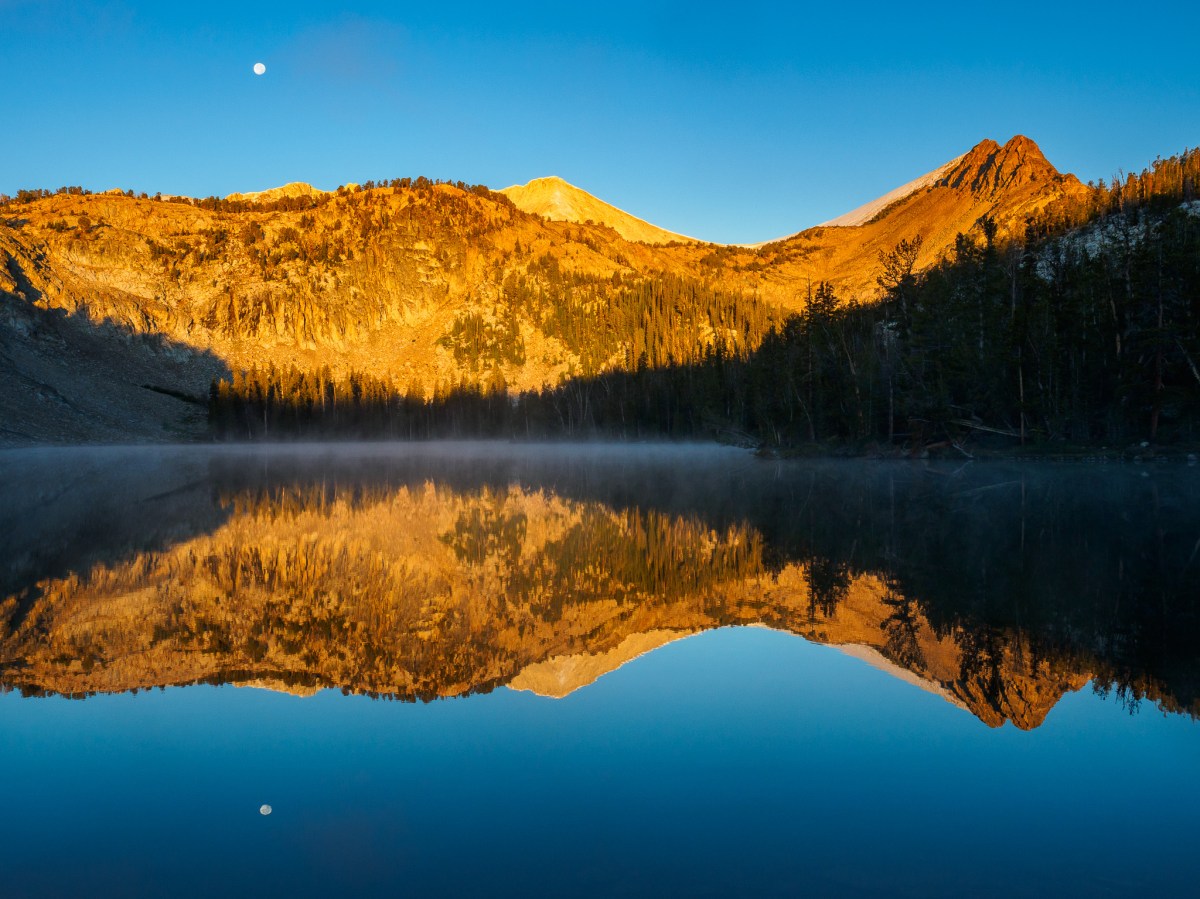
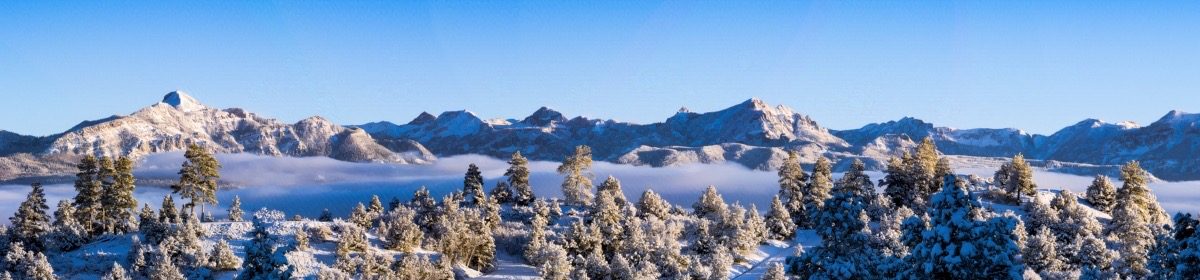
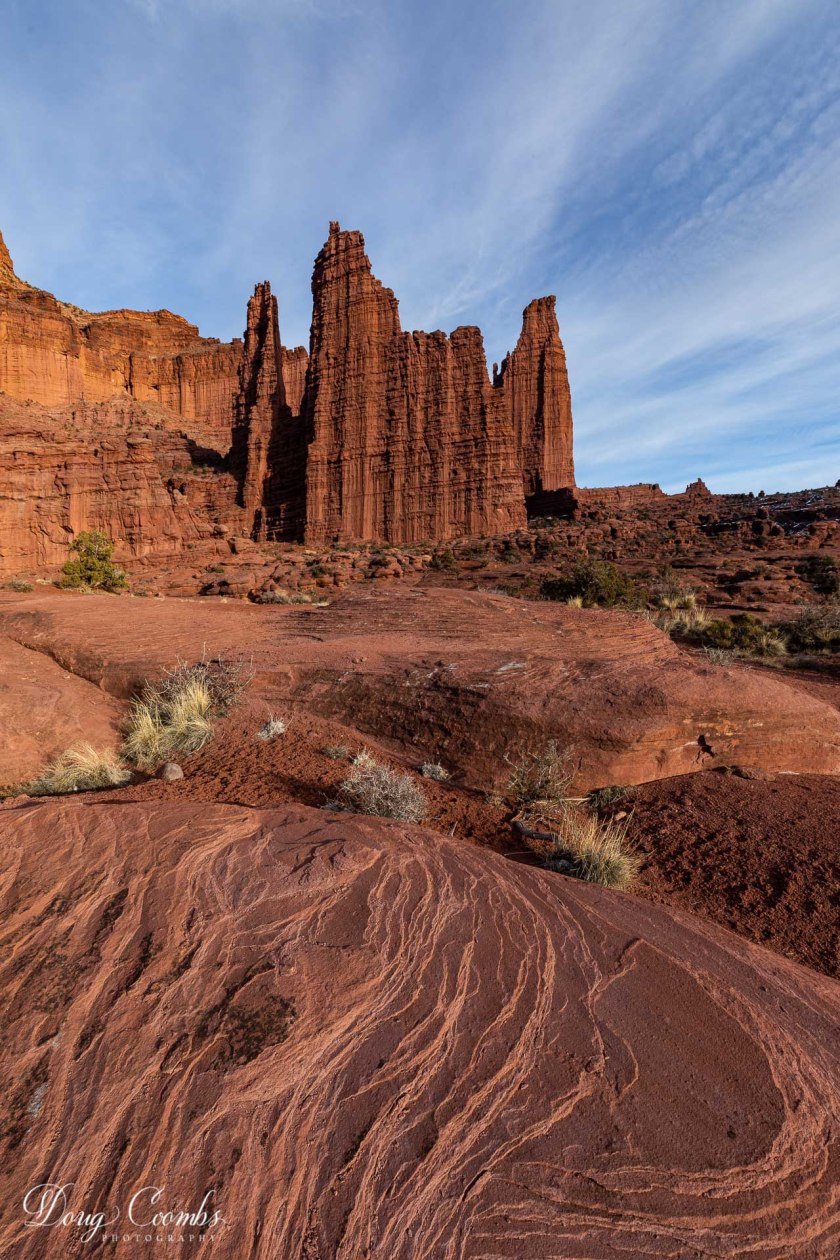
Doug is the chair and co-founder of the Los Alamos Adobe Users Group in New Mexico and a former chair of the Los Alamos Photography Club. He has been doing photography since high school, worked as a photographer and dark room tech in college, and fell in love with digital photography in 2003. Doug is primarily a landscape and nature photographer, with an affinity for birds and wildlife. He now splits his time between Los Alamos, Pagosa Springs, and a generous amount of travel to various photogenic destinations.
This will be a virtual meeting, live on-line, using Zoom video-conferencing. You may participate in the program from the comfort and safety of your own home. Photography Club members will receive a Club email containing the Zoom weblink to participate in Doug’s presentation. Members may also submit up to five photos to share, following Doug’s talk. Others who are interested in taking part in the Zoom meeting may contact Club president Andy Butler for information, at abutler@mac.com .
The Pagosa Springs Photography Club promotes educational, social and fun interactions between any and all who enjoy making and viewing great photography. Annual membership dues are just $25. For membership information visit our website at https://pagosaspringsphotoclub.org/about/