by Joseph T Sinclair
Digital art, regardless of how you make it, comes out flat and two-dimensional. I suppose one exception is a 3D movie and another is a 3D photo sterocope (antique). But this article concerns only two-dimensional photographs. The significance of two dimensions is that a work can be printed on a printer, shown on a screen (e.g., computer monitor), painted on a canvas, displayed on other flat surfaces, or any and all of the preceding. That’s something to keep in mind when trying to decide what is a photograph. You need words to make distinctions (labels, categorical names). There is no third dimension to help make distinctions.
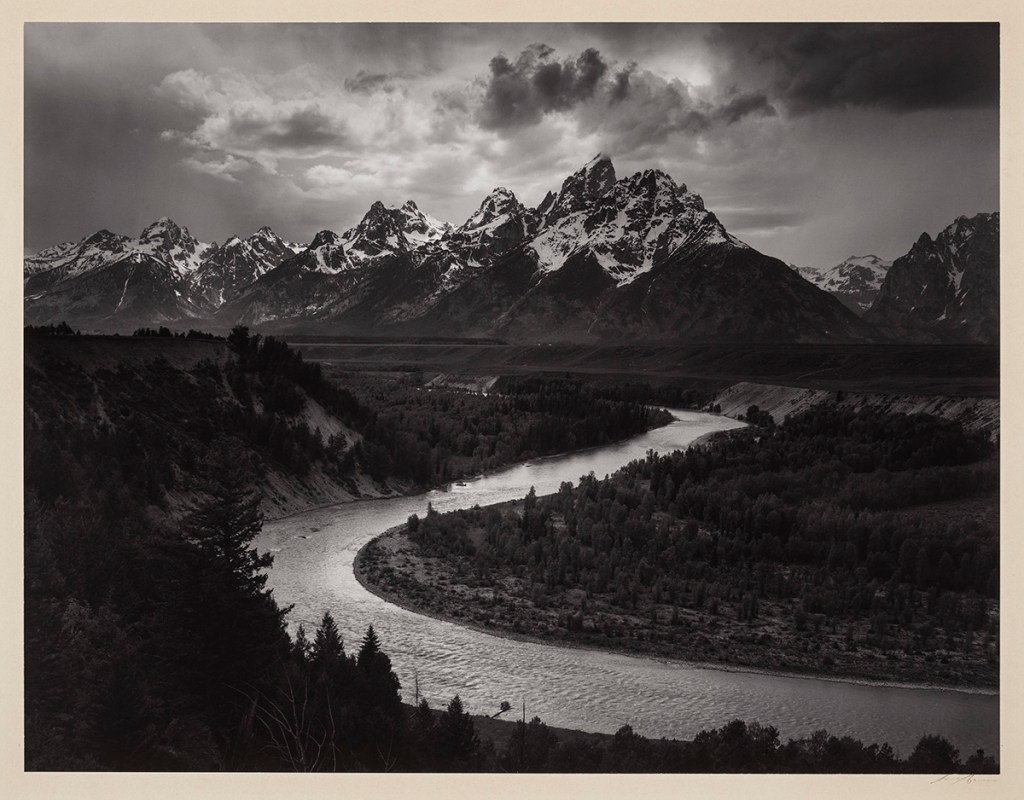
To begin this analysis, there are some people who argue adamantly that only a photograph untouched by manipulation is a photograph. This is an absurd dogma at a time when every photographer has access to a powerful digital darkroom (e.g., Photoshop). Even in the predigital era, for example, a noted photographer Ansel Adams made his fame by clever manipulation in a chemical darkroom.
Thus, manipulating photographs is nothing new. Digital technology has just made it easier and more powerful. And almost every photographer uses such technology.
The problem is that when one manipulates a photograph too much, is it still a photograph? Too much is a judgmental question. And no one owns the definition of the word photograph. Consequently, any dogma that declares that some photographs are not photographs or are bogus photographs is obviously deficient.
So, let’s take some examples. Suppose one accentuates the color saturation in a photograph (e.g., in Photoshop). Is it still a photograph? Remember Fiji Velvia film? A very colorful film with accentuated color saturation. It’s difficult to claim a Velvia photograph is not a photograph.

For another example, it turns out the moon is tiny in most landscape photographs. If one pastes in a larger moon, is it still a photograph?
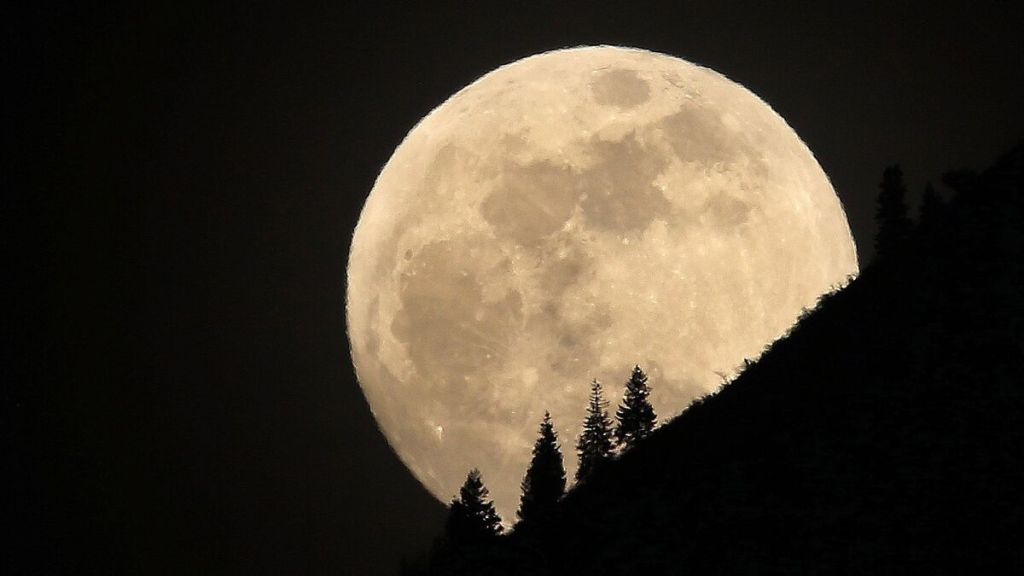
Of course, it is. And what if you subtract something from a photograph (a common practice)? Is it still a photograph? Or is it a bogus photograph?
Unfortunately, to some people these techniques are cheating. But since no one owns the word photograph, the cheating analysis can’t stand.
HDR
If you overuse HDR (high dynamic range) processing in Photoshop too much, your photograph starts to look like an artist’s color pencil drawing. And with more even HDR processing, it eventually becomes a color pencil drawing, in effect. Is a heavily HDR-processed image still a photograph?
If you think there is an immutable definition of photograph, where do you draw the line? Obviously, some manipulation may be acceptable to you, but other manipulation is not. The fact is, where you draw the line is your dogma (perhaps your evangelistic pursuit) and probably doesn’t exactly match anyone one else’s.
The latest leap into this quagmire is a photograph created by AI (artificial intelligence). Is an AI photograph really a photograph? Of course, it is. Who is to say it’s not?
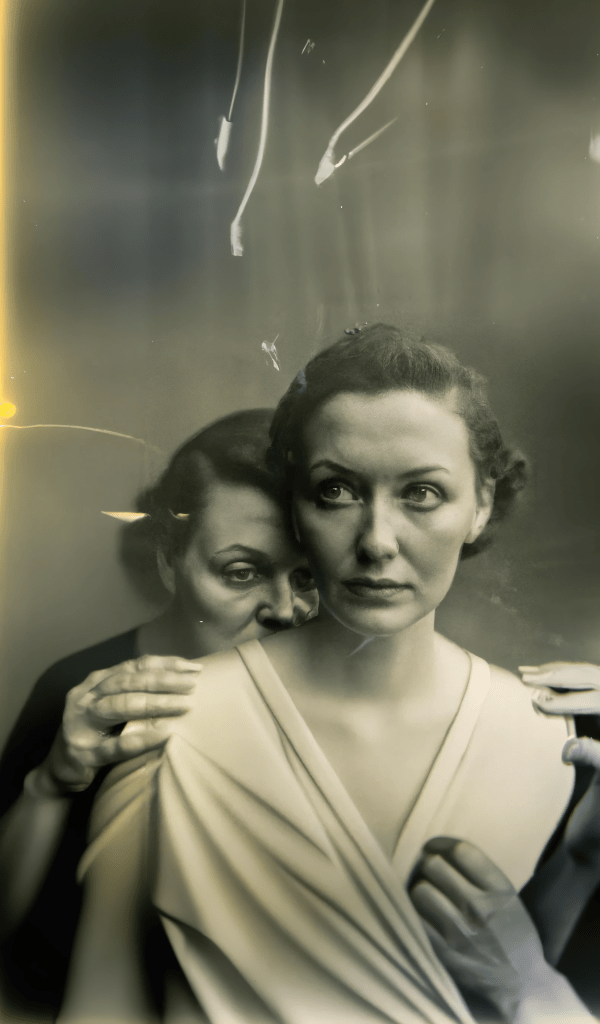
Recently Boris Eldagsen won a prestigious Sony world photography award. He then revealed that the photograph was AI-generated. The photograph is very compelling. But some people felt betrayed. The photograph was created by a careful selection of words fed into an AI generator. Does that make it any less a photograph than an Ansel Adams’ mountain severely crafted in a chemical darkroom? Certainly not.
Perhaps someday there will be accepted labels that distinguish photographs created in different ways. Until then, it’s all very fuzzy and controversial.
Where’s the creativity?
For AI, there’s the proper selection of words to run the AI generator. This is a creative act and can be a very complex chore. In addition, when one gets a desirable photograph from AI, one might be likely to do some digital manipulation to make it better. It could be said that this is more work than running out and shooting a normal photograph.
AI unrelated to photography
AI has implications for societal and technological changes unrelated to photography. Many even seek legislation as an attempt to control the evolution (revolution) of AI. That’s a matter that will not immediately relate to a definition of photograph.
There are, however, places for unmanipulated photographs taken with a camera. One is journalism. Manipulated photographs used in journalism are appropriately unethical. Journalism is expected to tell (show) the absolute truth. Likewise, in the justice system, unmanipulated photographs are required for accurate evidence. Even in the insurance business (and other normal businesses), unmanipulated photographs are important. Think about the photograph of damaged vehicle used for a claim adjustment.
There is also implied accuracy. An example is taking photographs for a travel brochure. It is implied that the photographs are not misleading (or at least not too misleading).
Then, of course, if one represents his or her photographs to be unmanipulated—but they are manipulated—that’s fraud. And fraud is socially unacceptable and even illegal in some cases.
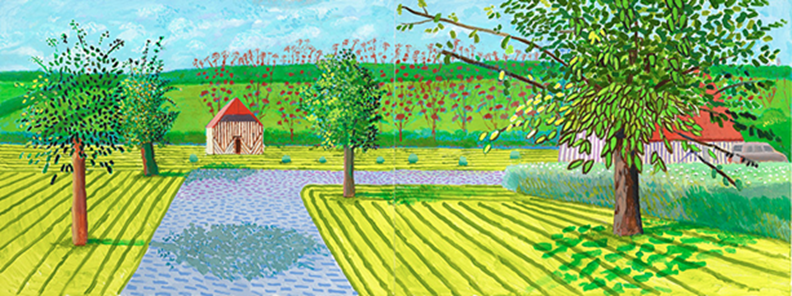
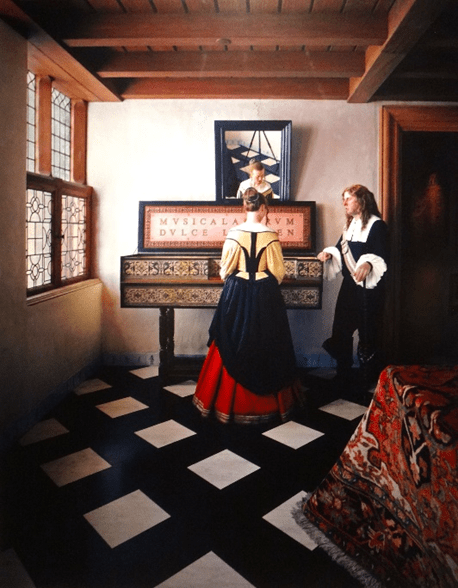
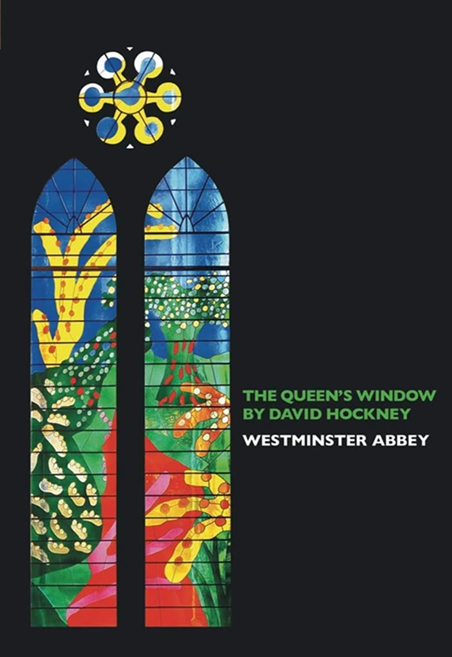
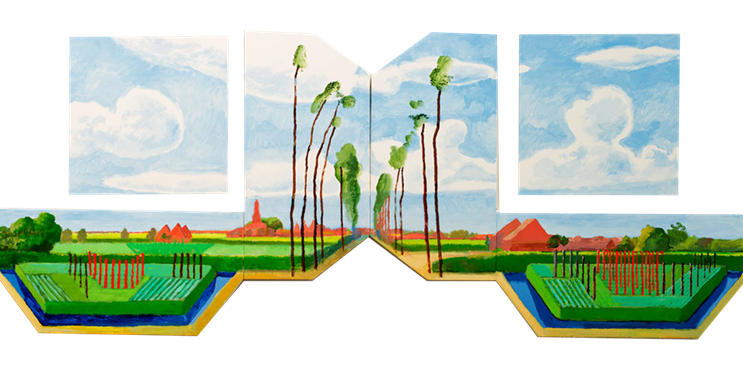
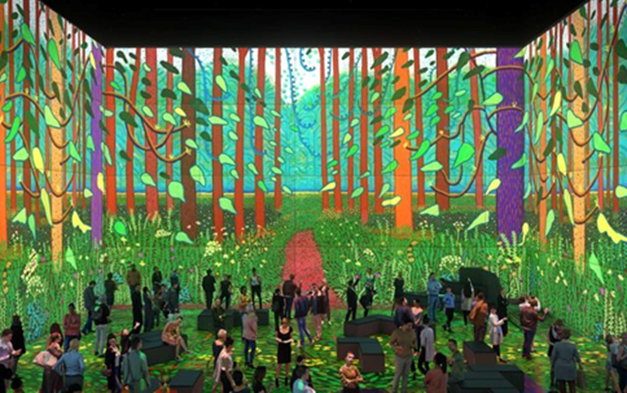
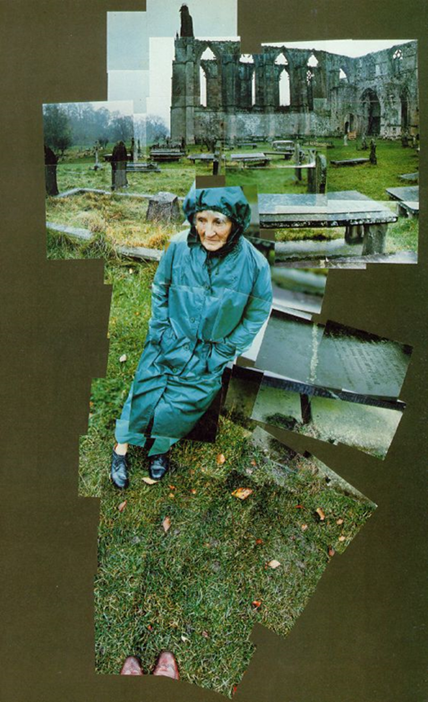
Nonetheless, when it comes to creativity, anything goes. All artistic tools are at the disposal of creative photographers. David Hockney (leading artist) uses iPhone photographs as sketches to start his paintings. Painters, going back many centuries, used camera devices (e.g., the camera obscura) to create sketches to start their paintings; when this was first revealed a few years back, many curators and collectors thought of it as cheating. What do you do about cheaters from the 1400s? Fine them? How many guilders? And how do you collect the fines?
Photographers have been adding and subtracting images to and from photographs for decades (even in chemical darkrooms). If a photographer wants to call their work a photograph, who is to say it’s wrong (or bogus) regardless of how it was made?
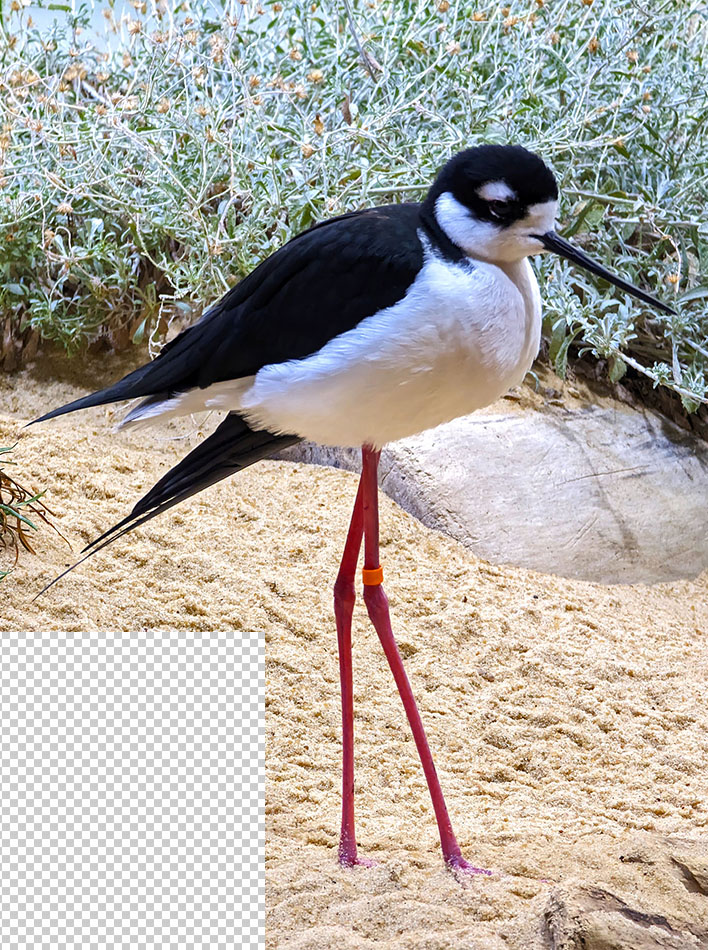
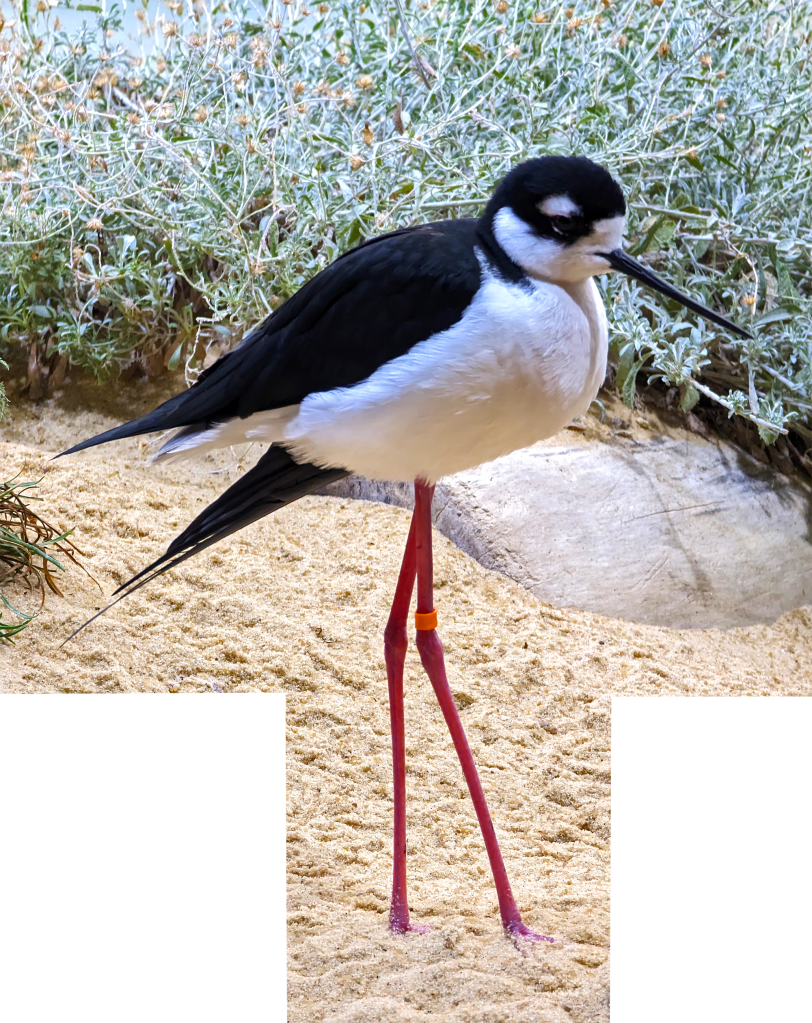
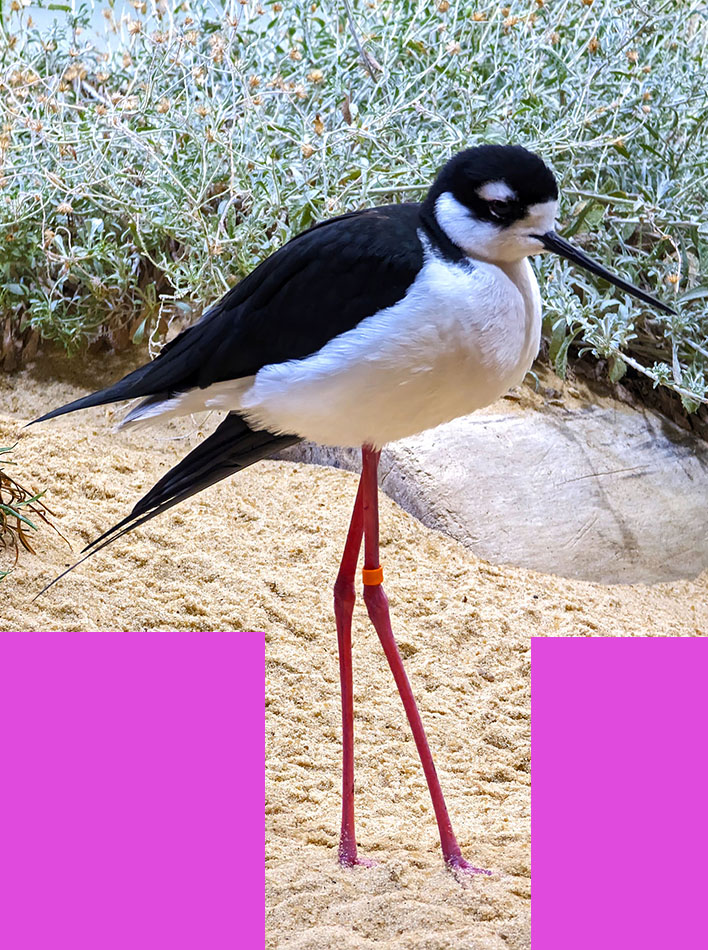
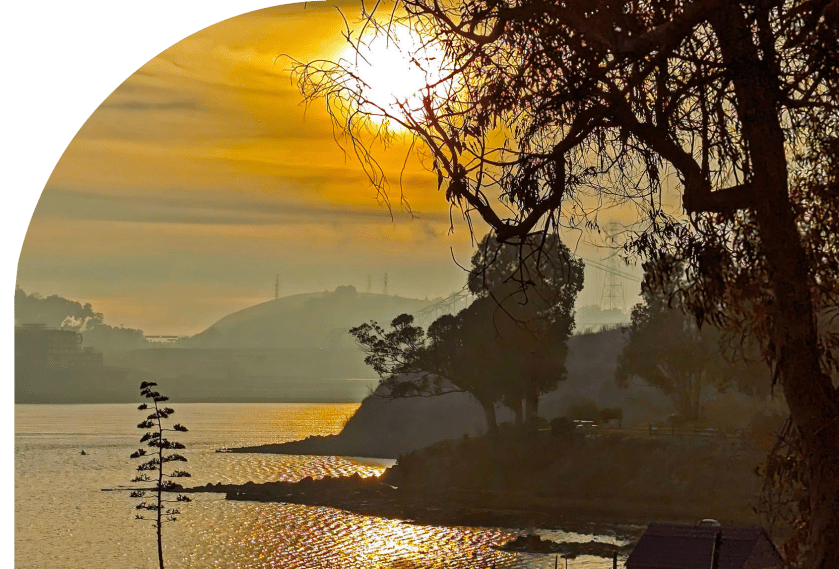
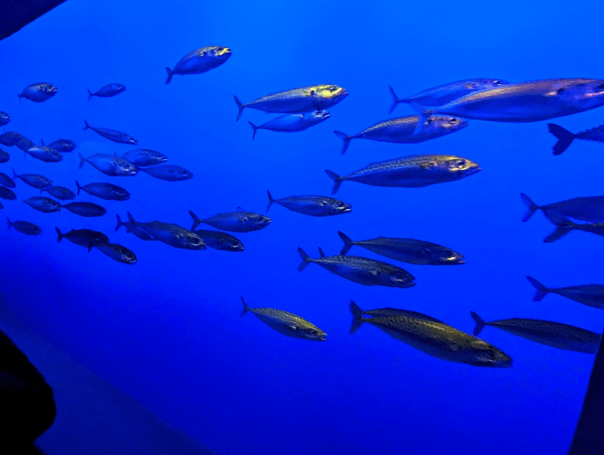
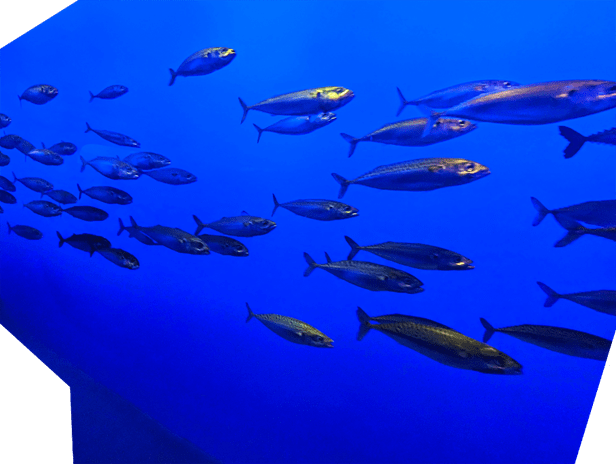
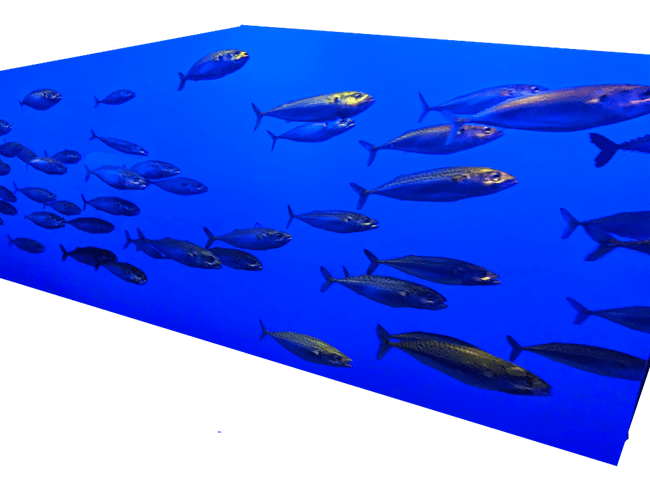
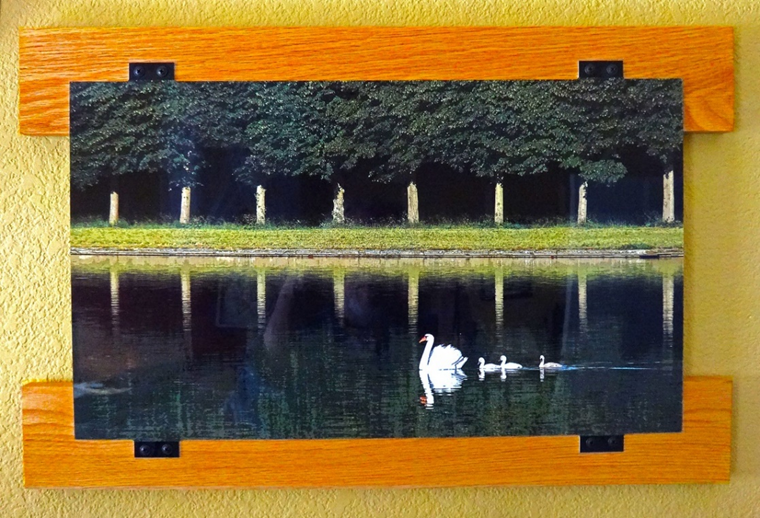
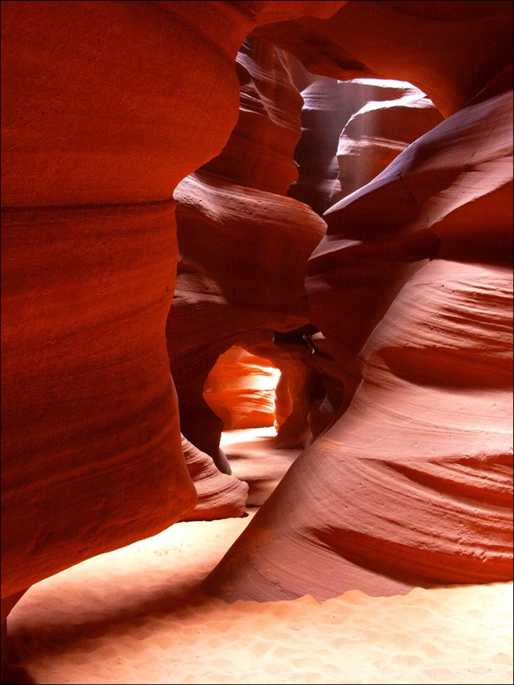
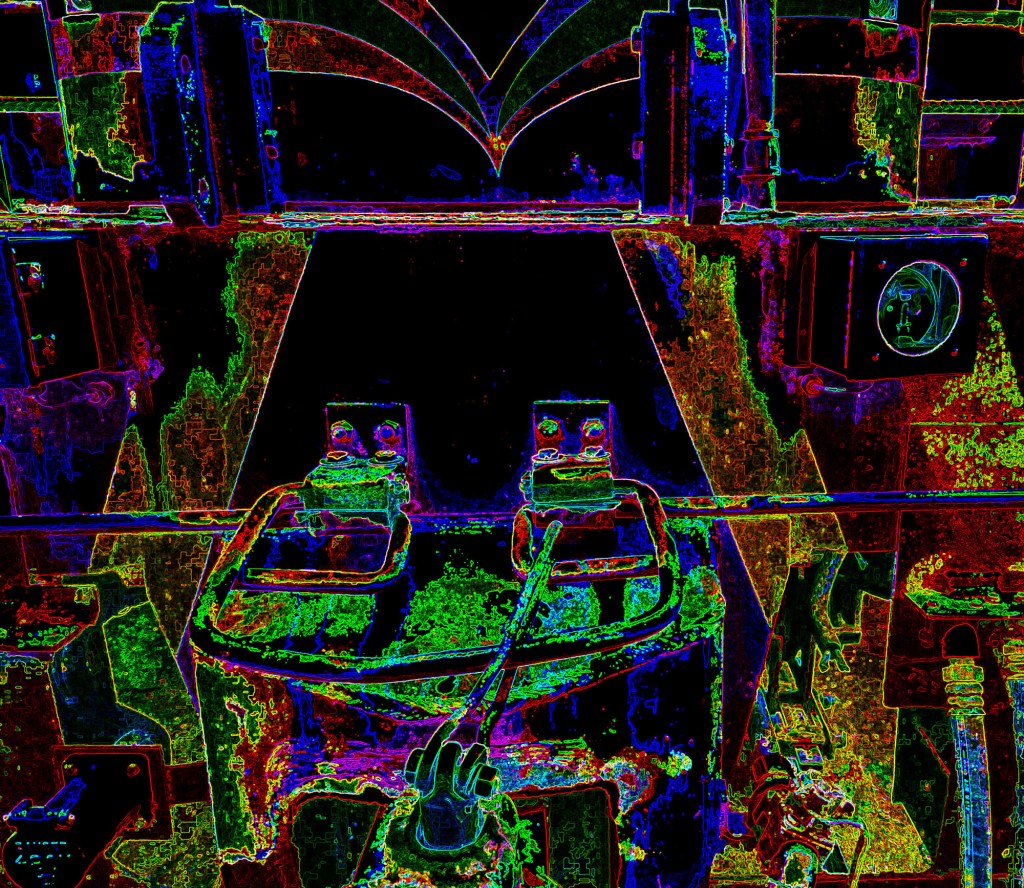
Below is my photograph created by super, super saturation in Photoshop. Is it a photograph?

If it’s not a photograph, what do you call it? This gets back to the first paragraph. One needs to distinguish between photographic creations by labels, because photographs are all two-dimensional (flat). You can’t distinguish between them using a third dimension (e.g., statue, base relief). And with exploding modern technology, we don’t have widely-accepted labels to make distinctions, specifically among different kinds of photographs. This situation is likely to be temporary, perhaps for the next 25 years. But until we have the new labels (widely used), we’re stuck with ambiguous words like photograph.
For instance
Perhaps aig could become the word to label photographs created with AI; that is, AI generated. Perhaps addphoto and subphoto could become the words to label photographs created by adding or subtracting part of the image. Etc.
In the meanwhile, curators, art show judges, collectors, and the like are overrun by the new technology and are prone to dogma that they can’t easily define. This causes a great deal of friction in the photographic community.
The lesson to be learned is that one must evaluate each image (work of art) for its aesthetic value: how it tells a story, or other subjective criteria. How it was made is of no concern. It’s either evocative or informative, or it’s not. And if the artist calls it a photograph, it is. Only when photographs are used for special purposes (e.g., travel brochures, justice, journalism) is reality de rigueur.
This article just scratches the surface of complications for the word photograph. For instance, expectation is a factor. If one submits a photograph to a New York City gallery, the definition of a photograph is likely to be wide. If one submits the same photograph to a rural-county-fair-photography contest, the definition of a photograph is likely to be narrow.
So, don’t let anyone tell you your photograph is bogus or not a photograph.
“When you show me a moving, heartfelt image that causes me to laugh, cry, think, or otherwise react, I couldn’t care less how you did it. I don’t care if you used a pinhole camera or film or an iPhone. What I care about is the image.”
Scott Bourne, 72 Essays on Photography