
by Joseph T Sinclair
What is cropping a photograph for the sake of discussion in this article? It’s changing the shape of the image into something other than a rectangle. Thus, when it displays on a digital screen, it has a new shape.
- Create a new image in Photoshop the same dimensions of the photograph and make sure it’s all one color (white is the default).

2. Make the opacity of the image 0. This is the background layer, and the background hash will show as you work.
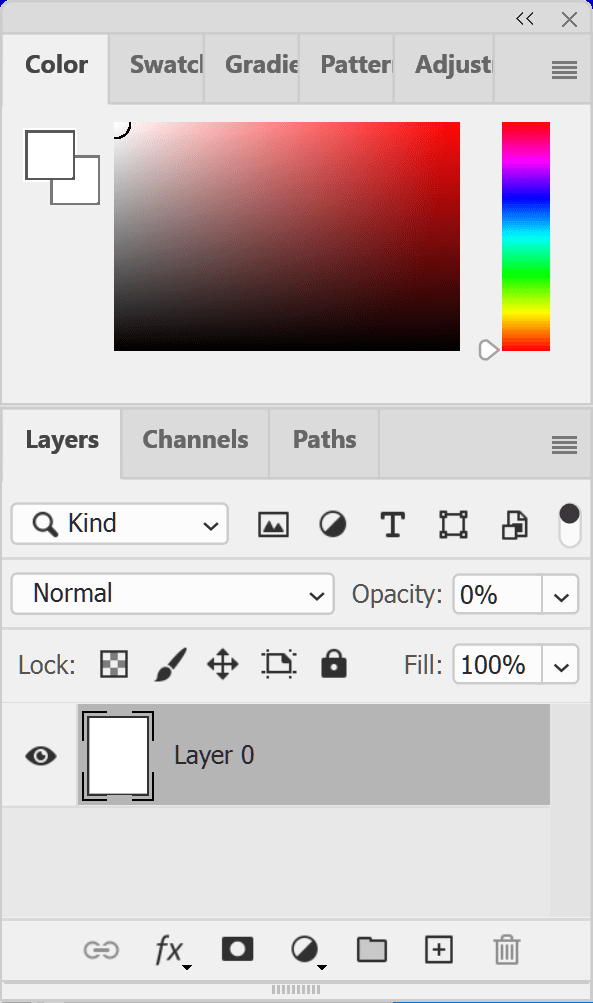

3. Create a second layer.
4. Import and place the photograph onto the second layer covering the entire layer. Then rasterize the layer.

5. Use the rectangular marquee tool (or another selection tool) to create a shape that you want to cut away.
6. Erase that shape; be careful to erase everything within the shape.
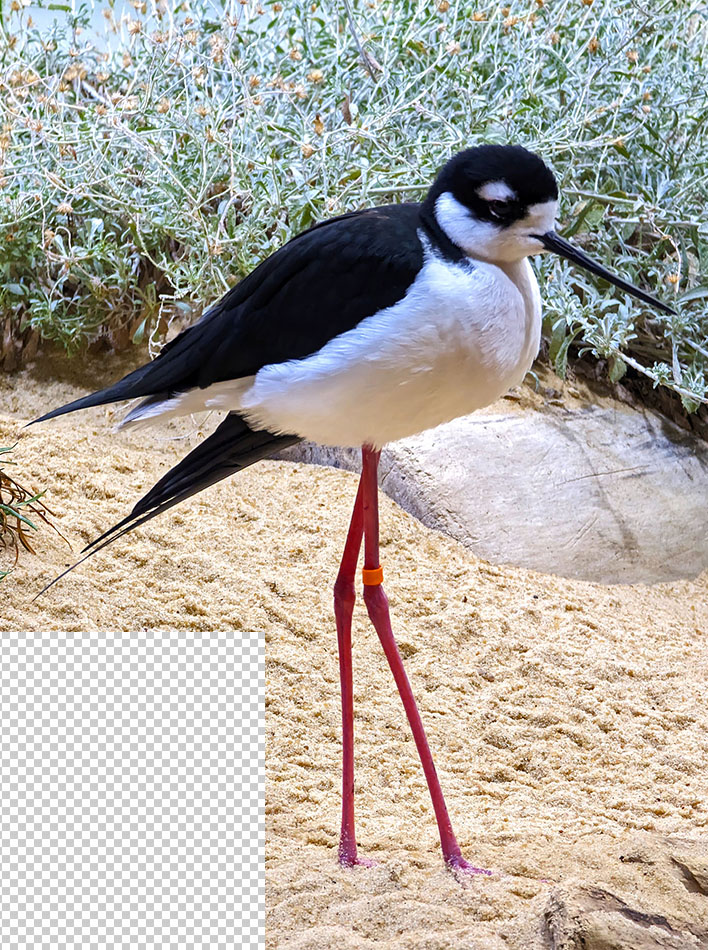
7. Create more shapes to cut away and erase them until you get the crop (new overall shape) you want.

8. Merge the second layer to the background layer using the merge layers tool.
9. Save as a .png (PNG – portable network graphic).
How will this display? The cutaway portions of the photograph should not show (should be invisible) on most digital displays. (On some rare digital displays, the background hash will show leaving the photograph a rectangle with the background not invisible.)
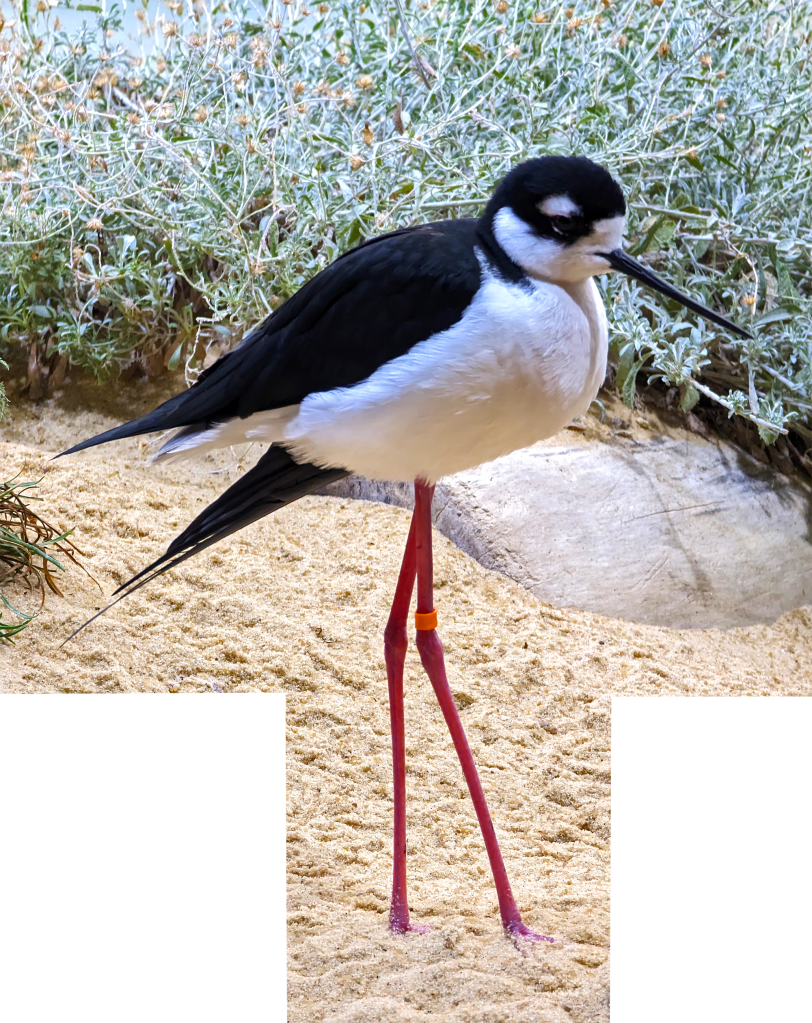
Note: this will work only if saved as a .png photo files.
If you’re going to cut away portions for a metal print, make the background layer a florescent color with full opacity so that the photo service will know where to cut. After the cuts, the metal print will have a creative shape.
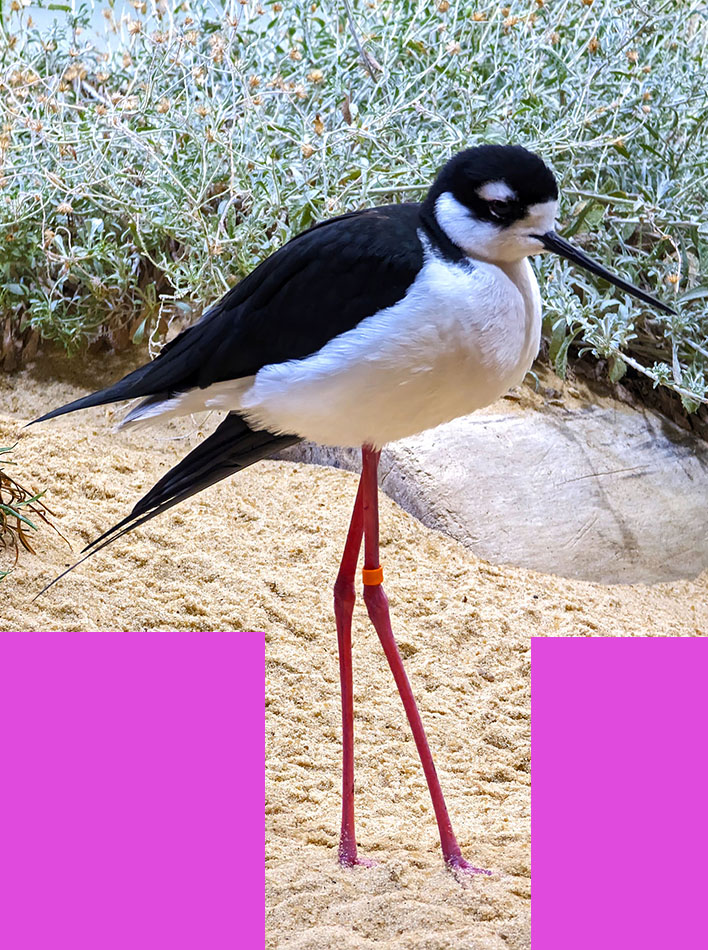
Most photo services do not offer cutting. One that does is MagnaChrome:
Examples
More dramatic than the original:

Funny:

Useful shape:


Silhouette:

